 FE2 Assembly Manual
© 2009, Alex Asen, Open Source Instruments Inc.© 2009, 2023, Kevan Hashemi, Open Source Instruments Inc.
If you buy a materials kit from Open Source Instruments, it will include all the components of the enclosure, but not the clamps you need to hold the pieces together while they dry. Nor does the kit include the epoxy dispensing gun that holds the epoxy cartridge.
 |
 |
 |
| The corner pieces are borrowed from the lid and are there to help square the "top," but do not get epoxied in place. | Add weights to insure everything is flush. | The finished top flipped over after it has dried. Notice no corner pieces. |
 |
 |
 |
Use the top as a fixture. | Use the bottom pieces as spacers | Epoxy the lid together on top of the fixture. |
 |
| The corner pieces are added. |
 |
 |
All four sides are glued at once. | Close up of one corner. |
 |
 |
| Mesh unrolled on the table. | Mesh with masking tape, ready to be cut. |
 |
 |
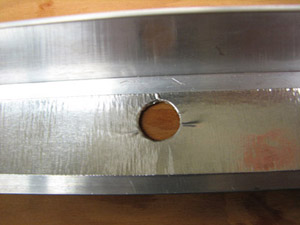 |
| Piece of tape in the corner to hold mesh in place. | Mesh fully taped. | Ignore the BNC hole while taping. Later use a razor blade to cut tape and mesh away from the hole. |